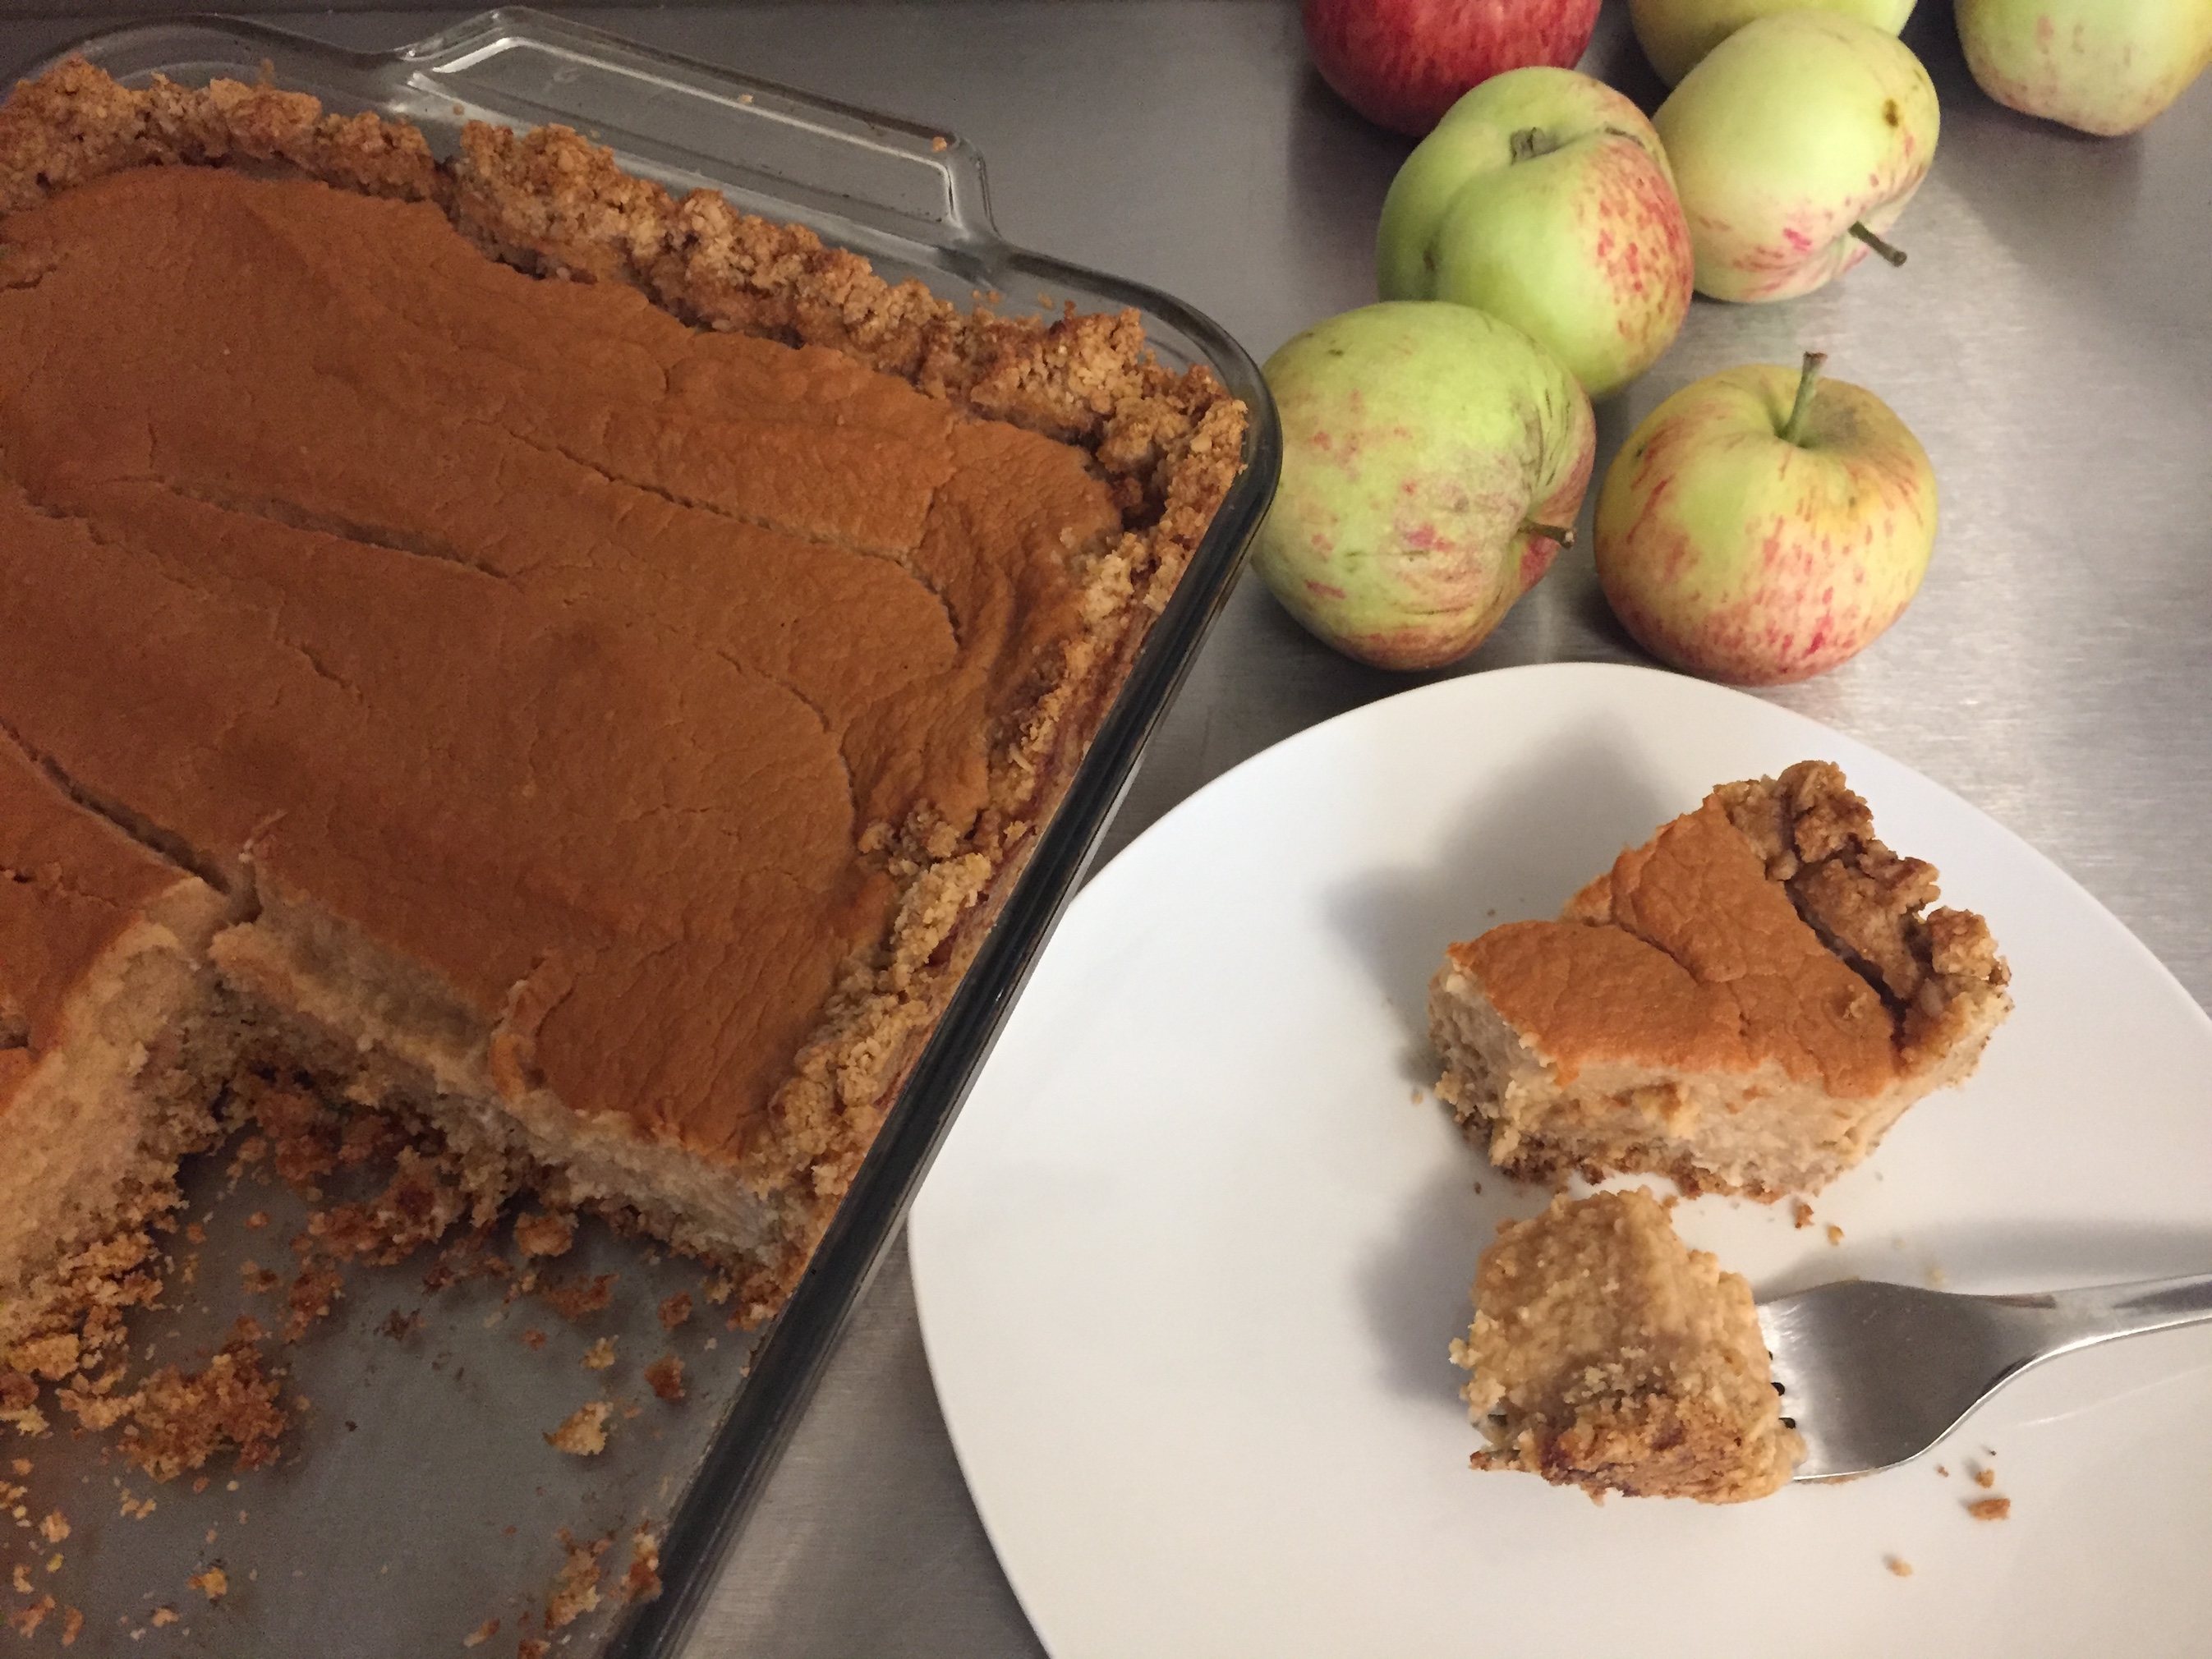
Apple Season
Fruit season again!!! Season-fresh fruit, especially from your years, are typically full of delicious and healthy pant molecules that do wonders for our bodies. Last year I detailed berries, this year is apples! We have a very productive apple tree where we live, and this year it’s creating deliciously sweet (with a touch of sour) apples! The mature apples have a little less juice and a little more pulp, so I decided to do some baking with them. I don’t even know what you’d call this dessert, but I call it delicious. It’s perfectly balanced and most of the sugar comes from the apples themselves.
Apple Dessert
I whipped this up last night just because there were a lot of apples falling off our apple tree! I stepped outside in the evening, grabbed a large bowl of apples, and started to work on a crumble crust.
Because of the improvisational nature of this recipe I didn’t record proportions of ingredients, I just eyeballed it. The following is my best recount:
Ingredients:
Base:
- Almonds – 2 cups
- Oats – 4-6 cups
- Demerara sugar – 1/2-1 cup (to taste)
- Butter – 1/2 block (room temp)
- + 1 tsp salt if butter unsalted
Fill:
- Apples – 3-4 lbs ; cored, quartered, skin-on
- Lemon – 1 lemon (juiced)
- Cardamom – 2 tsp
- Maple syrup – 1/4 cup or less (to taste)
- 3 large eggs
I used my vitamix to grind the almonds, sugar (I only used 1/2 cup), and half the oats into a fine powder. I placed that into a mixing bowl and ground the rest of the oats less (so that there were still some larger flakes) and added it to the bowl. I then added the butter and cut/blended the butter in with the base to make a nice crumble – if your crumble is too sticky/dense, make and add more almond/sugar/oat grind as you go: it should pull apart crumbly, but stick together with a light pat. Some people may prefer more or less almonds, oats or sugar, use your preference and discretion!
Grease a 9×13” pan with butter, and evenly shake the base into the pan, leaving just a little extra near the edges- if your base is dense, just separate it through your hands during this step. Next you’ll want to make the crust by patting the base evenly – spreading it out and filling in empty spaces, while pressing it into an even crust that rises the edges of the pan. The deeper the better. Try not to press the base too densely, a firm pat will keep it crumbly once baked.
I put this into the oven on Broil for 5 minutes to crisp up the face of the base before moving onto the filling.
Next I put my apples into the vitamix with the lemon juice – I had to do half at a time due to the size. Blend those apples into a nice sauce! The longer you blend the more they will oxidize and turn brown, so keep the blending to the minimum required to get everything nice and uniform. Once you’ve blended your last blender full, add the eggs, maple syrup and cardamom and slow-blend them in so they’re good and mixed. Fold/mix that into the rest of your apple-fill if you had to blend in parts.
Next, you simply pour the fill into the crust, spread it evenly, and bake at 325 for 90+ Minutes. Go by smell and consistency to know when it’s done – it should never smell like it’s burning, and the fill should cook and dry enough to start cracking a little bit, as pumpkin pie does.
That’s it! Let it cool and enjoy!